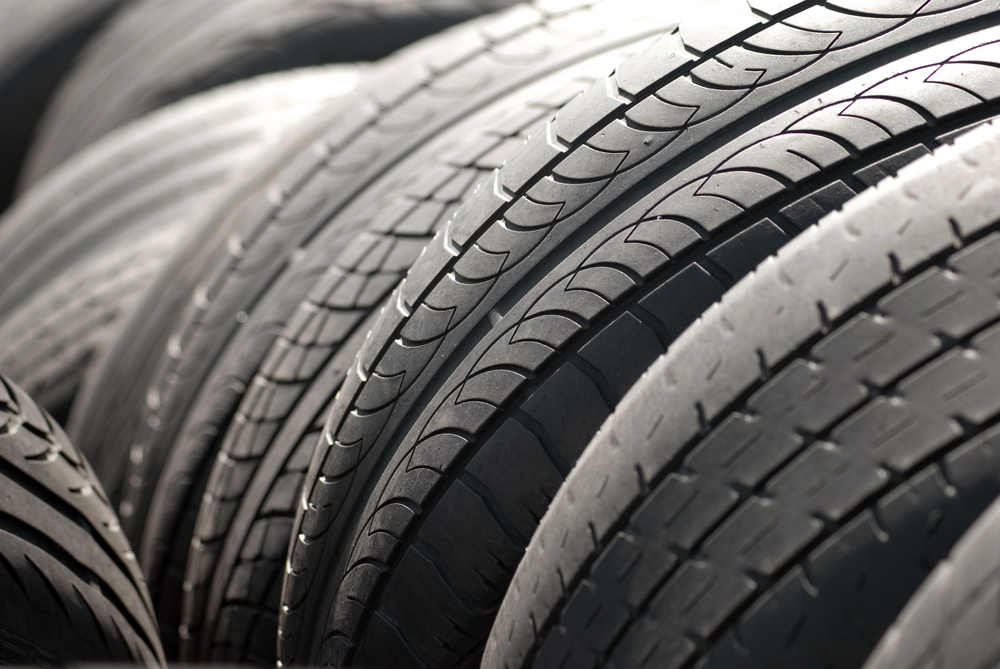
How to use a tyre repair kitHow to use a tyre repair kit

Tyre repair kits can be a useful way to patch up your tyre so you can safely drive to a local garage.

In a world where mobile tyre fitters will repair or replace your tyre at the roadside and by with you in a matter of minutes, these kits are going out of fashion somewhat, but they certainly do still have their place and it is always a good idea to have one in your vehicle.

Tyre repair kits us a tyre sealant and a compressor that help to seal the puncture hole and get you back on the move.

tyre installation

When NOT to use a tyre repair kit

You must only ever use a tyre repair kit when safe to do so. Never attempt to fix a tyre on the hard shoulder of a motorway, or at the side of any busy road for that matter.

If you suspect you have a puncture, pull over into a safe place well away from traffic or off the road entirely if possible.

In this article we will give you some general advice on how to use a standard tyre repair kit, but these kits can vary and if the instructions on the box are different to the ones you see here, always follow their instructions instead.

How to use a tyre repair kit

The first thing you need to do is to find your puncture. For a puncture to be repairable using a tyre repair kit it must be in the central third of the tyre and less that 4mm in diameter.

Any slashes or embedded debris should not be repaired in this manner.

Make sure that the puncture is at the top of the tyre before inserting the sealant from the kit through the air valve of the tyre.

Next, you will need to connect the compressor to the tyre. Depending on the kit itself, you may either connect the compressor to the valve or the sealant bottle itself.

The compressor should then be used to reinflate the tyre to a legal safe pressure. You should make sure that your tyre is holding air and is not deflating rapidly before you return to the road.

Call a mobile tyre repair company

If you are unsure if your puncture is safe to patch up, even simply to drive to a local garage, never take the risk.

Instead, leave your car where it is and arrange for an expert mobile tyre fitting Edinburgh expert to come and examine it. They will swiftly determine if the tyre can be replaced or a new one needs to be fitted.

Even better, if they are a REACT trained fitter, and you should only ever call a REACT trained mobile tyre fitter, they will be able to carry out the work at the roadside in many cases.

 If you need to be back on the road quickly and safely, there really is no better option that a professional mobile tyre fitting and repair expert.

READ MOREREAD MORE

Roof repair Adelaide: Roof Repair – Why You Should Hire a Roofing SpecialistRoof repair Adelaide: Roof Repair – Why You Should Hire a Roofing Specialist

Roof damage repair can be an enormously daunting home repair undertaking, whether you choose to handle it yourself or hire professional crew. No matter which route you take, first identify what exactly the cause of damage is before taking steps to address it.

While professional roof repair Adelaide should always come first, some minor leaks and shingle issues may be solved on their own by homeowners themselves.

Damaged Shingles

Roof shingles that have been compromised due to hail or simply wear and tear must be repaired as quickly as possible for their own protection and the rest of your shingle’s well being. When their protective granule layer has been compromised, leaving UV, impact and corrosion protection compromised and leaving any part of your shingle susceptible to further damage. If you notice dark spots or dents on any of your shingles that require repair, contact a professional roofer immediately so they can inspect and make the necessary repairs.

High winds can also pose a threat to roof shingles and other components of your home’s structure, loosening or tearing them, as well as damaging wood fascia, softs or siding in ways that compromise their integrity.

Damaged shingles can also allow moisture to seep into your home and lead to more serious and costly water and structural damage. Check your attic, crawlspace or anywhere close to your roof for damp spots or moldy areas – those are telltale signs that repair work should be undertaken immediately.

Bruising of roof shingles is another type of damage caused by solid objects, like hail. Symptoms may include dark spots or dents on shingles that exhibit round, concave dent with embedded shingle granules; though you could attempt repairs yourself it’s often best left to professionals as they possess all necessary tools and knowhow.

Leaking Gutters

Gutter leaks needs roof repair Adelaide since it is more than an inconvenience: they can also pose real threats to your home and environment. Gutter leaks can result in musty odors, mold growth, wood rot and erosion in your garden. Gutters exist to collect and disperse rainwater; when your gutters leak this means the excess rainfall has nowhere to go, potentially compromising roofs, fascia boards and house siding as well as encouraging pests such as rodents and cockroaches.

Hardware that connects a gutter to its house can wear and tear over time, too. Hangers (the pieces of metal that hold gutters to houses) may become loose from fascia boards for any number of reasons – physical damage caused by ladders banging against them, too much leaves, debris or rainwater accumulation inside, or simply from heavy loads of leaves and other debris that have become lodged inside over an extended period.

If your gutter’s hardware has become damaged, it’s wise to replace them immediately. Make sure the replacement has a quality seal designed to last in outdoor conditions; in some instances you may even be able to repair existing hardware by resealing holes using caulk or glue specially developed for roofing and gutter materials; before applying caulk be sure the surface is clean and dry before beginning application.

Damaged Flashings

Flashing can be one of the most challenging areas to properly install, and even minor missteps can lead to serious water damage issues down the line. If you have concerns about your flashings, hire roof repair Adelaide for an inspection as they will be able to detect issues early and take appropriate measures before they become serious problems.

Roof flashing typically constructed of aluminum or steel is susceptible to corrosion, leading to holes that allow water into your home and creating further problems. A professional roofer can quickly repair holes by cutting a patch from the same material and using roofing cement for its securement.

READ MOREREAD MORE

Crafting Your Story: How to Build a Tattoo Sleeve from ScratchCrafting Your Story: How to Build a Tattoo Sleeve from Scratch

Tattoos are more than just ink on skin; they’re a reflection of one’s soul, journey, and passions. When considering how to build a tattoo sleeve, it’s essential to approach it as a canvas that tells a cohesive, personal story. This guide will provide step-by-step insights into conceptualizing, designing, and executing your dream sleeve.

Tattoo design tools alongside a forearm inked with detailed nature-inspired imagery.
Crafting a Tattoo Narrative: From Sketch to Skin.

Conceptualizing Your Sleeve

Before you dive into the design, take a moment to reflect on the story you want your sleeve to tell. Is it a tribute to someone, a chronicle of personal growth, or perhaps a depiction of your favorite memories? Jot down ideas, themes, and symbols that resonate with your story.

Start with a Focal Point

Every sleeve needs a centerpiece, a tattoo that draws attention and sets the tone for the rest. It could be a significant symbol, a portrait, or even a scene. This focal point will often be the largest piece and will guide the design of the surrounding tattoos.

Choose a Style

Tattoo art comes in various styles – traditional, neo-traditional, realism, blackwork, and more. Your choice of style can add another layer of meaning to your sleeve. For instance, a watercolor style might evoke feelings of fluidity and dreaminess, while geometric patterns can represent structure and order.

Incorporate Transition Elements

To ensure your sleeve has a cohesive look, incorporate transition elements that connect different tattoos. This can be done using clouds, smoke, vines, or even abstract patterns. These elements help in filling gaps and creating a seamless flow.

Consider Color vs. Black and Grey

While color tattoos are vibrant and can make your designs pop, black and grey tattoos have a timeless, classic appeal. Your choice will depend on your personal preference, the style you’ve chosen, and the story you’re telling.

Consult with a Tattoo Artist

Once you have a rough idea, consult with a tattoo artist who has experience in crafting sleeves. They can provide valuable input on placement, sizing, and how to bring your vision to life. Remember, it’s a collaboration, and their expertise can elevate your initial concept.

Take Your Time

Building a sleeve is not a one-time event. It’s a process that can take multiple sessions, spread over months or even years. Don’t rush. Give each tattoo the time it needs to heal before adding another.

Aftercare is Crucial

Proper aftercare ensures that your tattoos heal well and look vibrant for years to come. Follow your artist’s aftercare instructions, keep the tattoo clean, moisturize, and avoid direct sunlight.

Conclusion

Building a tattoo sleeve from scratch is a deeply personal journey, one that requires thought, dedication, and a touch of creativity. With the right planning and the expertise of a skilled tattoo artist, you can craft a sleeve that’s not only visually stunning but also a meaningful reflection of your story.

READ MOREREAD MORE

Crafting a Masterpiece: How to Build a Tattoo Sleeve from ScratchCrafting a Masterpiece: How to Build a Tattoo Sleeve from Scratch

The art of tattooing has evolved immensely over the years, and one of the most sought-after designs is the full-arm tattoo sleeve. If you’ve been pondering “how to build a tattoo sleeve,” you’re in the right place. Designing a cohesive and captivating sleeve requires careful planning, artistic vision, and collaboration with a skilled tattoo artist. Let’s embark on this inky journey together!

Skilled tattoo artist meticulously inking a detailed sleeve design in a studio adorned with various tattoo sketches.
Crafting Art on Skin: The Journey to a Perfect Tattoo Sleeve.

1. Determine Your Motivation

Before diving into designs, introspect on why you want a sleeve. Is it a personal expression, a tribute to someone, or simply an appreciation for art? Understanding your motivation will guide your design choices.

2. Choose a Theme or Style

Consistency is key. Decide on a theme or style that resonates with you. Whether it’s traditional, tribal, geometric, or a mix, having a central theme will ensure a cohesive look.

3. Start with a Focal Point

Identify a primary design or element that will serve as the centerpiece of your sleeve. This could be a large portrait, a significant symbol, or any design that holds special meaning.

4. Plan the Layout

Consider how each tattoo will flow from one to the next. Some people start from the wrist and work their way up, while others begin at the shoulder. There’s no right or wrong approach, but planning ensures a balanced and harmonious design.

5. Incorporate Personal Elements

Your sleeve should be a reflection of you. Integrate personal symbols, quotes, or images that resonate with your life and experiences.

6. Collaborate with a Skilled Artist

The importance of a skilled and experienced tattoo artist cannot be overstated. Research artists who specialize in the style you’re aiming for. Collaborate closely, sharing your ideas and being open to their suggestions.

7. Consider Color and Shading

Decide if you want a colorful sleeve, a black and grey one, or a combination. Think about how colors will flow together and how shading will add depth and dimension to your designs.

8. Pacing is Essential

Building a sleeve doesn’t happen overnight. It’s a journey. Start with smaller pieces and gradually expand, giving each tattoo time to heal before adding another.

9. Care for Your Tattoos

Proper aftercare is crucial. Follow your artist’s advice on cleaning, moisturizing, and protecting your tattoos, especially from the sun.

10. Evolution Over Time

Your sleeve can be an ever-evolving canvas. As life progresses, you might want to add more elements or designs, making it a living testament to your journey.

In Conclusion

Learning how to build a tattoo sleeve is a journey of artistic expression, personal reflection, and collaboration. While the process requires time, patience, and careful planning, the result is a masterpiece that tells your unique story. Embrace the process, collaborate with experts, and watch your vision come to life, one ink stroke at a time.

READ MOREREAD MORE